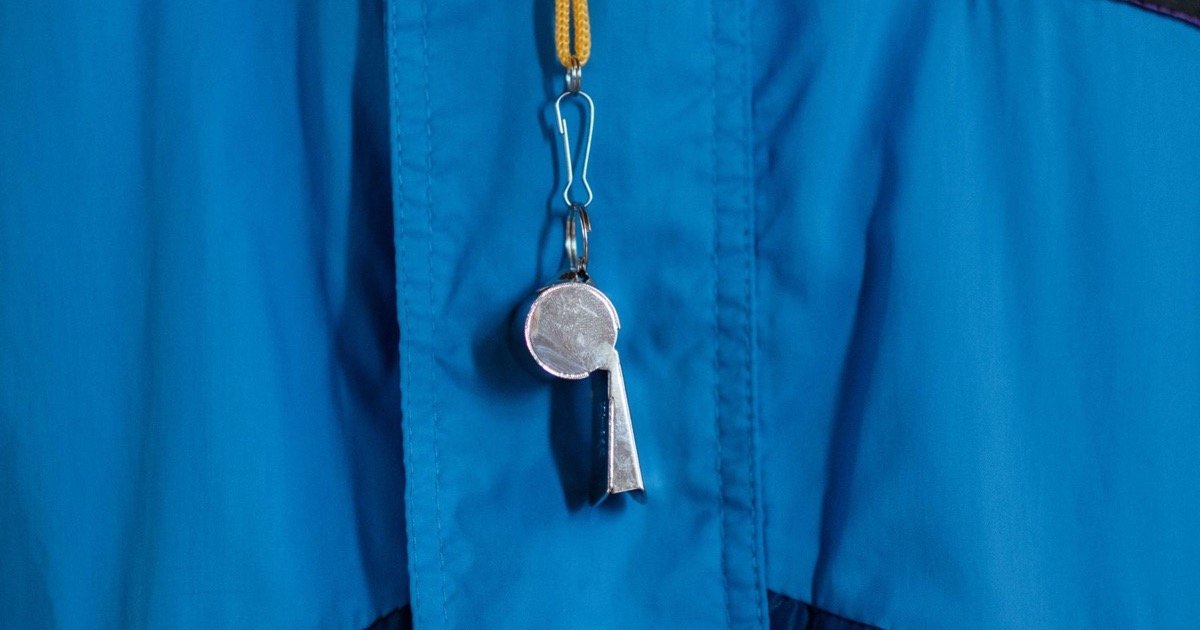
An emergency whistle is easy to pack and easy to overlook. Before a hike, camp, paddle, or group outing, a short emergency whistle inspection can reveal a blocked airway, damaged mouthpiece, weak attachment, or poor access point. The goal is not to certify the whistle as rescue equipment. It is to confirm that the specific item you plan to carry is clean, intact, reachable, and able to produce a clear signal under ordinary test conditions.
The U.S. National Park Service trip-planning guide recommends trying equipment before a trip and making sure it works and that you know how to use it. A whistle should complement a trip plan, navigation tools, communication methods, light, shelter, and other appropriate essentials rather than replace them.
Start With the Whistle’s Intended Role
Decide who will carry it, where it will be attached, and when it may be needed. A whistle mounted on a child’s jacket has different access and retention needs from one stored on a shoulder strap, personal flotation device, keychain, or emergency pouch. Group members should know which whistle belongs to them and how it is meant to be used.
Check local guidance for the destination and activity. Signaling customs, equipment requirements, water exposure, cold, dust, and group procedures can vary. The article on how to use a survival whistle explains why a whistle is one layer in a broader emergency plan.
Emergency Whistle Inspection Checklist
| Inspection area | What to check | Reason to review it |
|---|---|---|
| Body and mouthpiece | Cracks, deformation, sharp edges, loose sections, or impact damage | Damage can affect comfort, handling, retention, or sound production |
| Airway and chambers | Dirt, lint, water, ice, insects, packing debris, or other obstruction | A blocked passage can weaken or interrupt the signal |
| Attachment point | Hole, loop, ring, clip, cord, knot, and surrounding material | The whistle must remain attached during movement and handling |
| Access | Reach with either hand where relevant, including with a pack or outer layer | Buried equipment may be difficult to use under stress |
| Cleanliness | Residue around the mouthpiece and any trapped moisture | Clean, dry equipment is easier to inspect and use |
| Function | A brief, controlled signal test in a suitable place | Confirms that the assembled whistle produces a clear sound |
| User readiness | Each carrier knows the location, grip, and agreed signal procedure | Familiarity reduces confusion when the item is needed |
Inspect the Body, Mouthpiece, and Air Path
Look across the whistle under good light. Check the mouthpiece for burrs, dents, cracks, or edges that could be uncomfortable. Examine seams, caps, and chamber walls for movement. If the product has multiple tubes or chambers, inspect every opening rather than assuming one clear path means the whole whistle is clear.
Use light and air to identify contamination; do not push an unknown sharp object into the airway. Follow the product’s cleaning instructions. After rinsing an appropriate washable whistle, allow it to drain and dry fully before storage. If the material, finish, or internal construction is uncertain, ask the supplier for care guidance instead of using solvents, abrasives, or high heat.
Check the Attachment as a Complete System
The whistle body can be sound while the carry system is unreliable. Review the attachment hole for wear or cracking, then inspect the split ring, cord, clip, buckle, or carabiner. Confirm that gates close, knots remain secure, and cords do not create an unintended entanglement risk for the user or activity.
Move the pack strap, jacket, or flotation gear through its normal range. The whistle should not repeatedly strike the face, catch on surrounding equipment, or sit where another layer blocks it. For placement ideas, read how to attach an emergency whistle to a hiking pack. Product developers can also compare the titanium loop-top survival whistle and the broader titanium whistle category as attachment references.
Run a Controlled Function Test
Choose a location where a loud sound will not startle people, disturb wildlife, or be mistaken for a real emergency. Warn nearby people, protect hearing through sensible distance and duration, and use a short test rather than repeated full-force blowing. A clear result in one environment does not prove audibility at every distance or in wind, terrain, traffic, vegetation, or bad weather.
Do not rely on an unverified decibel figure or on the phrase “very loud.” The guide to how loud an emergency whistle should be explains why test distance, angle, equipment, and conditions matter. Multi-chamber construction can change sound character and redundancy, but chamber count alone does not establish performance; see single-, dual-, and triple-tube whistle designs.
Repeat the Check in the Planned Carry Configuration
Put on the pack, jacket, gloves, or other equipment you expect to use. Confirm that you can locate and grasp the whistle without looking. If the trip includes cold or wet conditions, evaluate access with the relevant layers and a safely dampened exterior. Do not intentionally expose a product beyond its stated use conditions simply to create a harsher test.
For a group, have every member demonstrate where the whistle is carried and review the agreed response to separation. The National Park Service’s Outdoor Emergency Plan includes a whistle among several ways to signal for help and emphasizes planning, staying calm, and conserving resources.
When to Clean, Repair, or Replace
Clean and dry the whistle when contamination is removable and the manufacturer permits it. Replace or obtain qualified advice when the body is cracked or badly deformed, an attachment feature is compromised, an internal component is loose, corrosion or residue cannot be assessed, or the whistle does not produce a consistent clear signal after proper cleaning. Do not improvise a repair that narrows the airway or introduces loose adhesive.
Record problems found during product trials. For brands, recurring obstruction, awkward access, mouthpiece discomfort, or attachment wear should become design inputs rather than isolated customer-service notes.
FAQ
How often should I inspect an emergency whistle?
Check it before each trip, after hard impact or contamination, and when changing its attachment or carry location. Storage conditions and use determine whether additional checks are appropriate.
Does a successful test mean the whistle will always be heard?
No. Terrain, wind, background noise, distance, user condition, and orientation all affect audibility. Carry an appropriate communication and signaling plan.
Should every group member carry a whistle?
That decision depends on the group and activity, but individual access can be useful if members become separated. Follow destination, activity, and trip-leader guidance.
Reviewing an Outdoor Whistle Product?
Explore the Outdoor & Preparedness hub and Alloywright development capabilities for related signaling and attachment considerations. Brands can share a whistle concept or inspection requirement for a product-specific discussion.